How to define Anisotropic Thermal conductivity in a cylindrical coordinate system?
2023-12-05T16:49:00.000-0500
Summary
This article shows you how to apply Anisotropic thermal conductivity using a cylindrical coordinate system.
Details
| Attachments: | Thermal_conductivity.zip (111 KB) |
This article shows you how to define thermal conductivity in Radial, Theta, and Z-directions.
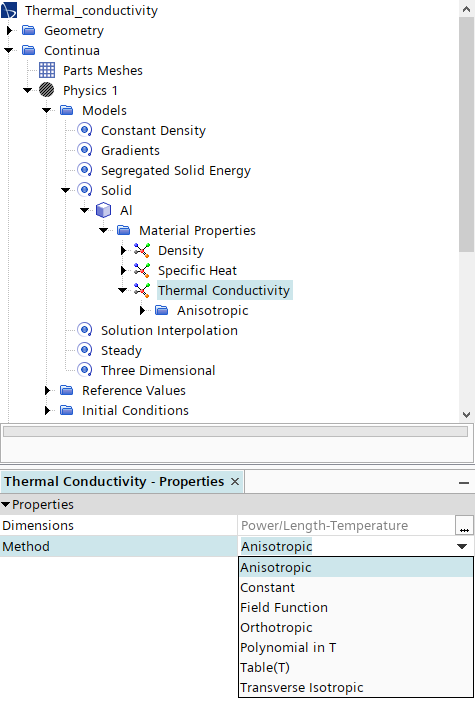
Standard materials in Simcenter STAR-CCM+ has thermal conductivity set to a constant value. To specify an Anisotropic thermal conductivity, select the material properties under physics continuum and change that to Anisotropic:
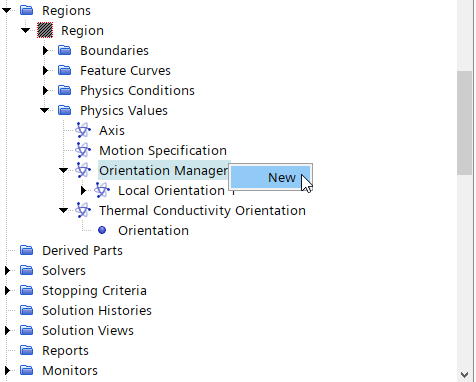
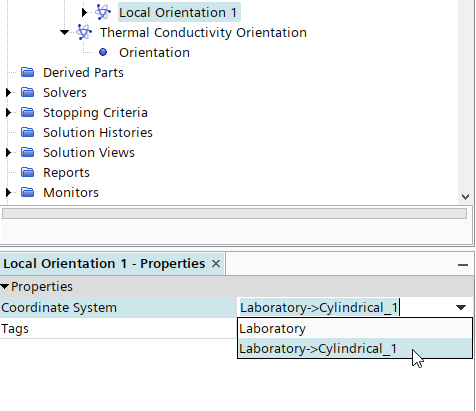
Then the orientation can be specified to be the cylindrical coordinate system we have previously generated in the Local Coordinate Systems node. (See this page on how to create a local co-ordinate system)
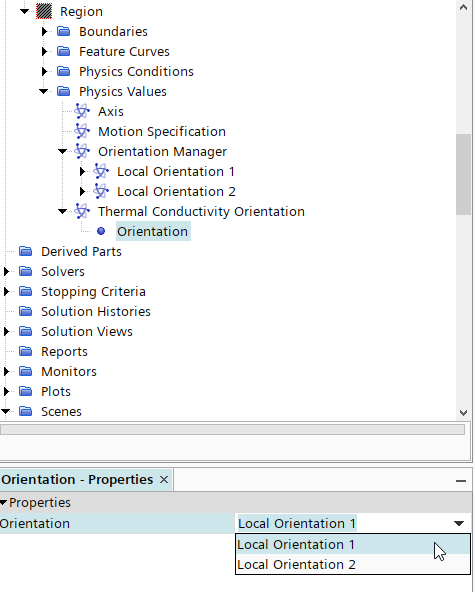
In case of multiple Local orientations in the Orientation Manager, the correct one can be selected on the Orientation node.
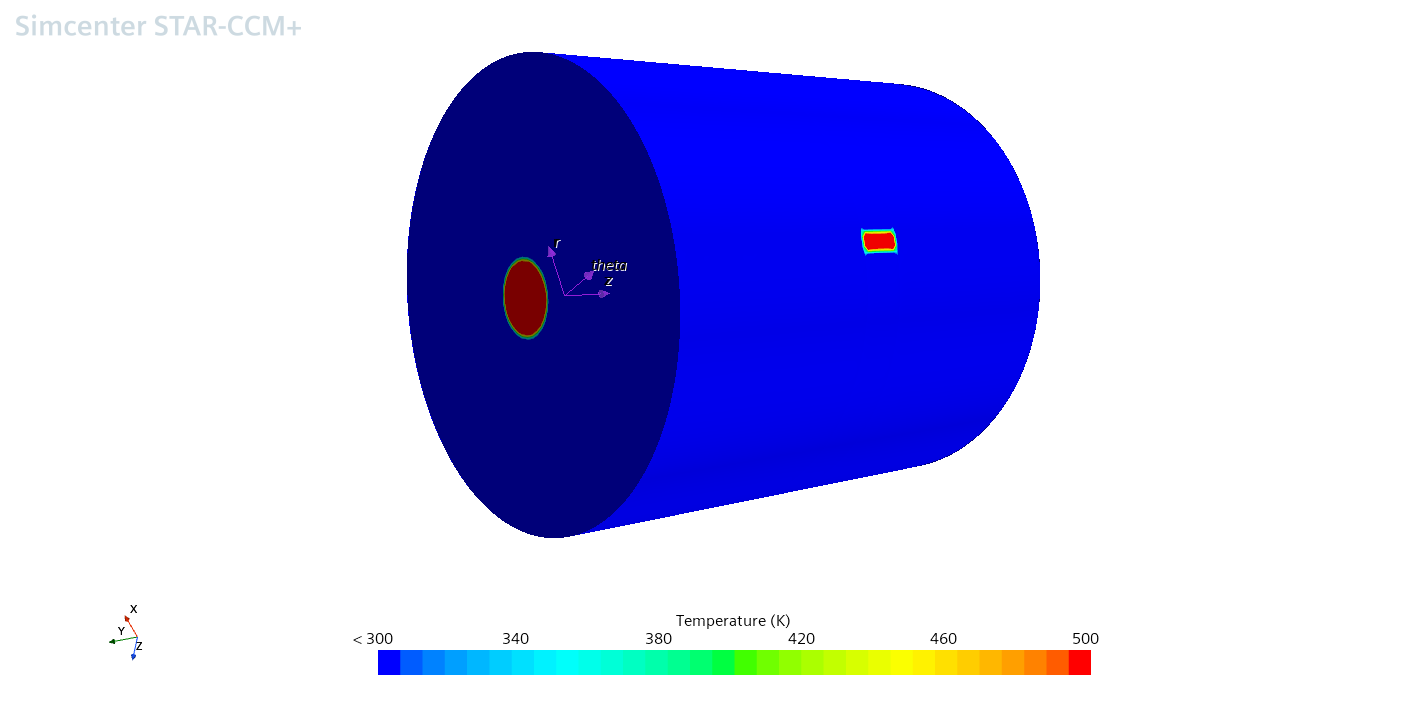
The thermal conductivity values can be defined as tensor quantities as desired. (See this page about tensor quantities). In this example we set the following tensor quantities:
k11 --> XX Component = Thermal Conductivity in Radial direction.k22 --> YY Component = Thermal Conductivity in Tangential (theta) direction.
k33 --> ZZ Component = Thermal Conductivity in Axial direction.
Please note that setting the Thermal conductivity as Anisotropic and defining all other k-elements of the tensor as zero is equivalent with choosing the Orthotropic tensor.
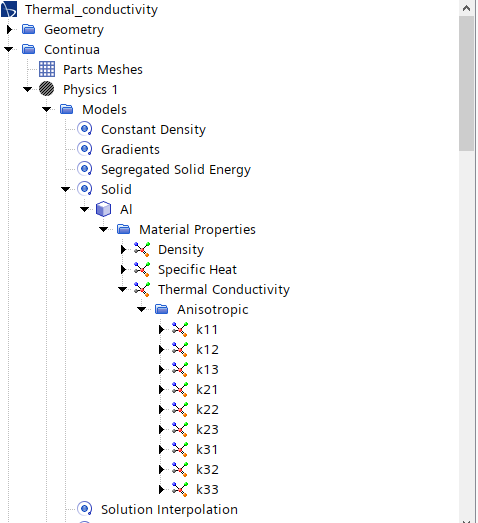
XX Component (Radial direction)
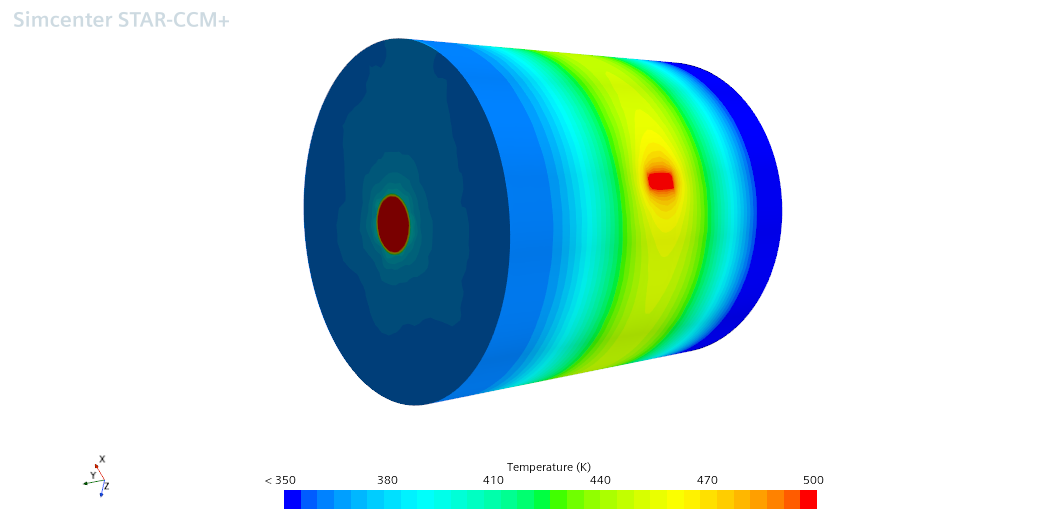
YY Component (Tangential direction)
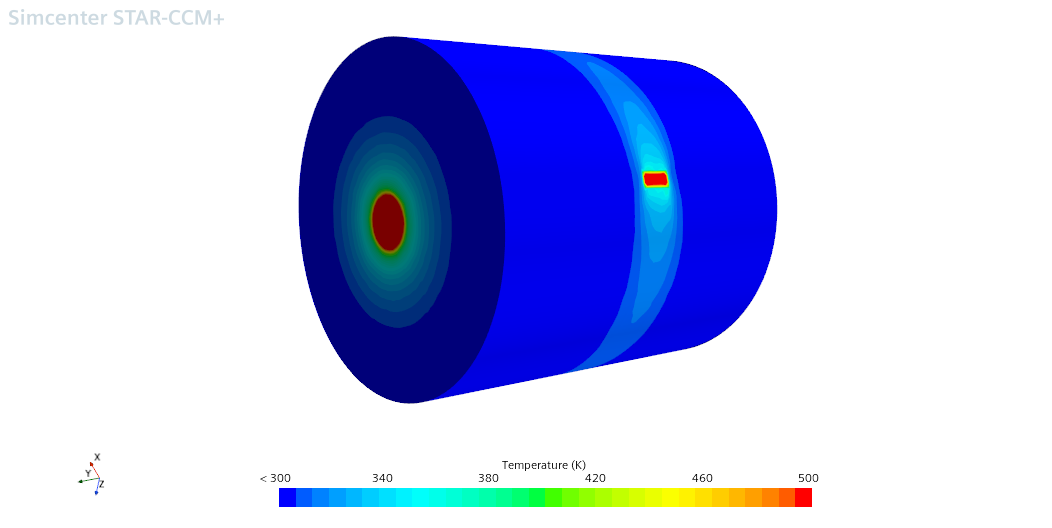 ZZ component (Axial direction)
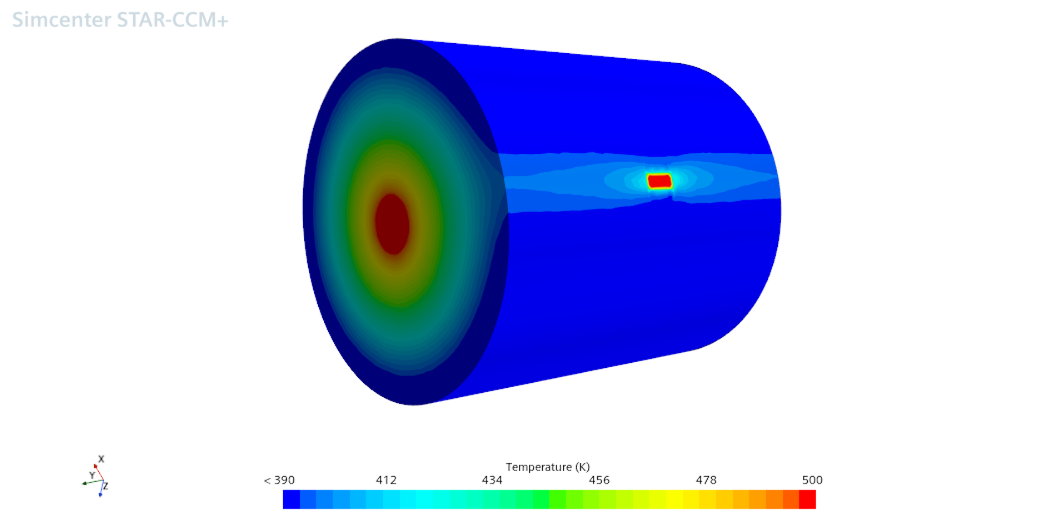
A sim file demonstrating the setup is attached to this article.
See also:
How to create an anisotropic thermal conductivity with a field function
How to define an anisotropic thermal conductivity on a solid using a table?
Multi-Timescale CHT within a single simulation with Simulation Operations: Exhaust Manifold Example
Simcenter STAR-CCM+ Documentation sections:
User Guide >| Using Tools >| Coordinate Systems >| Coordinate Systems Reference